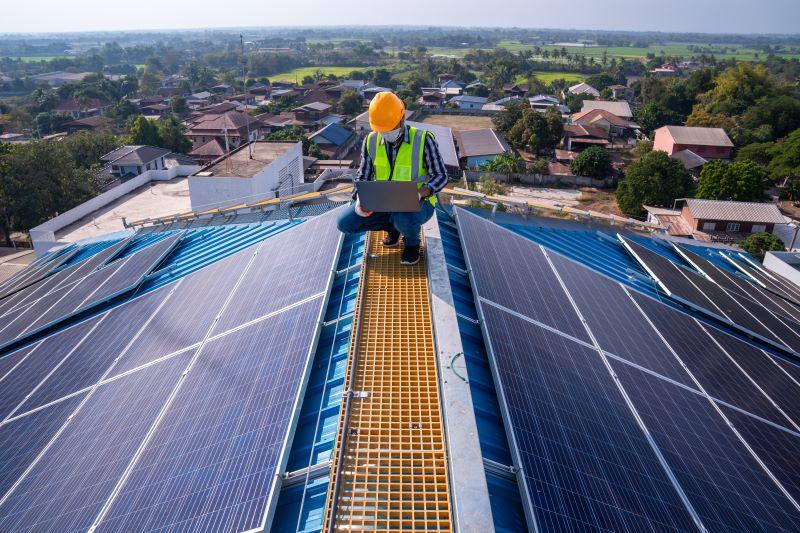
What Happens The Day
Your Solar Panels Get Installed

For many people, solar panels are complicated technology.
They view them as too futuristic, and therefore hard to understand.
Because of this, people often think that solar panels are hard to install, and that it takes a lot of time and effort to get them up and running.
In fact, it's just the opposite.
Installing solar panels is not only very fast, but it's also quite simple and straightforward.
In larger homes and buildings, it might take two or three days; however, in most homes, one day should be more than enough to do the whole installation.
Let's take a look at what happens on installation day:
I. Preparation
Before the engineering team begins putting the panels in place, you should clear out the spaces where the team will work.
This includes your home's electrical panel where they'll connect the solar panels to your home's electricity, and to the grid), the yard (where they'll have their equipment at hand), and the roof (where the panels will be installed).
You can even mark out some of these areas with floor tape or chalk markers, to make it easier for the engineering team. Oftentimes, the team will do this themselves.
2. Installation
The first step of the installation is setting up the scaffolding around the roof. This ensures that the engineers can quickly, easily, and safely get up on the roof to put the panels in place.
Next, they'll inspect your roof tiles (or shingles). This is both to check if they're in good shape to carry weight, and to mark out the points on which the mounting system will be attached.
The mounting system (which is what the solar panels will actually be on) is then attached to the roof, to the points marked out above.
This is when the team will put the panels on the mounting system.
Afterwards, they'll connect the panels to the inverter (which is what will convert the solar energy from the panels into electricity for your home and the grid).
If you decide to buy a solar battery (to store excess energy for when needed), it'll usually get hooked up to your panels right after the inverter.
Finally, the team will put in the electrical wires, connecting the whole solar equipment to the electrical panel.
3. Confirmation
Now that all the equipment has been installed, it's time to test it out.
That means the engineering team will switch your solar panels on, to show that they've been well installed and are working well.
This is also when they link the panels to your home internet, and install their monitoring apps on your computer or smartphone. These apps allow you to keep track of your solar panels' condition and performance in real time, and, frequently, to make adjustments on the spot.
The last thing now is for your utility company to replace your current meter with a new one, which will also show how much excess electricity you've produced and sent back to the grid. This will determine the credit you get back from the utility company.
And that's what you can expect on the day your solar panels are installed. Quick and simple.
Free Solar Texas' engineering team is comprised of experts in fields like solar energy, battery energy storage, EV charging and home efficiency.
If you want to get a free quote and design, from a certified Solar Consultant, click here.